How to install and use the WMV custom profiles for YouTube High Quality and HD
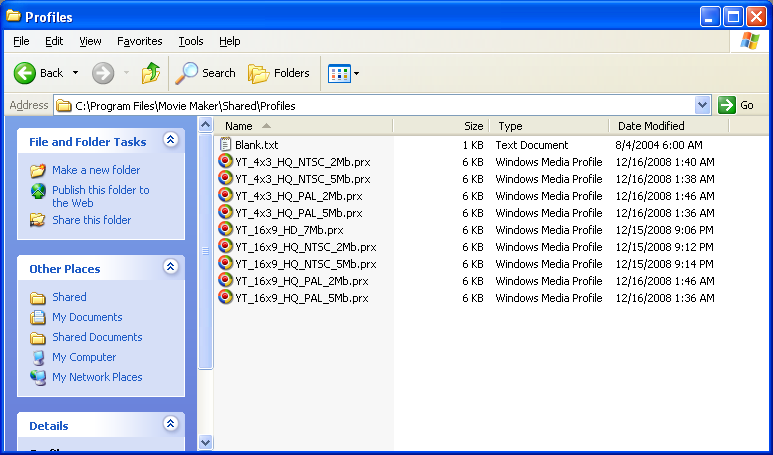
When you have downloaded the profiles you need. Copy them to your "C:\Program Files\Movie Maker\Shared\Profiles" folder (note that Vista users may need to create the "Profiles" folder.)
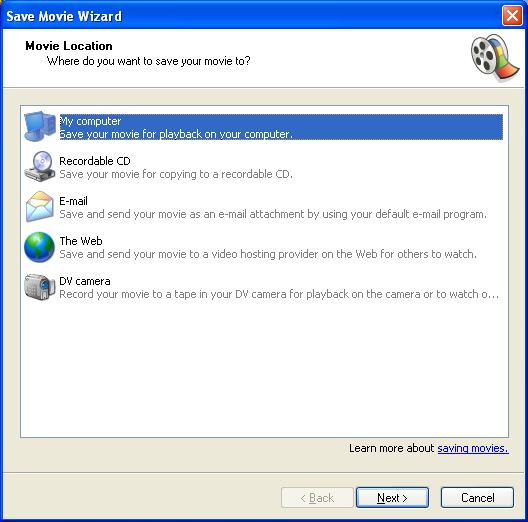
Now when you save (or publish) your movie in Windows Movie Maker, choose the option to save to your computer. (Note on Vista, there has been some reports that the custom profiles are not displayed, when clicking Publish Movie in the left hand menu. Instead, Click File from the menu at the top of the screen, then Publish Movie from the pull down menu).
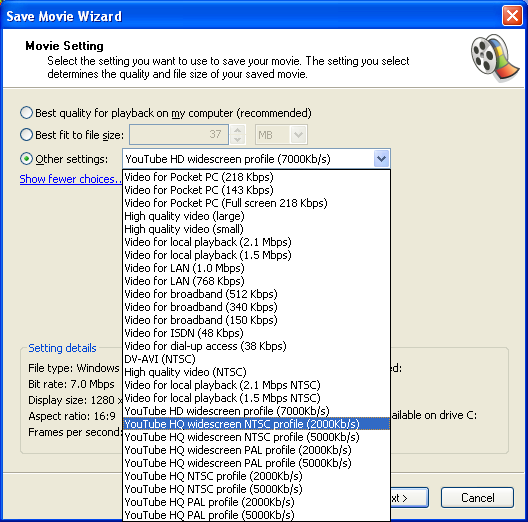
Then choose the option for Other Settings and choose one of the YouTube presets from the list. Choose the profile that matches your source video's aspect ratio and frame rate.
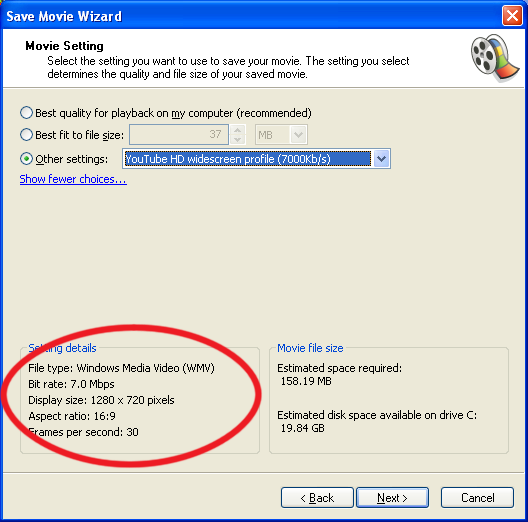
Detailed information on the specific setting can be found towards the bottom of the window once you've picked a profile.
Continue on with the rest of the prompts, and Movie Maker will begin to encode your video. The encoding profiles are pretty agressive and will take some time to encode the videos depending on the speed of your computer.
When it's finished, upload your new video to YouTube and wait for YouTube to process the video. The normal quality version should appear first and then the HQ or HD versions will follow after a while. Be patient for the HQ or HD as it often can take several hours for YouTube to make them available.
Want to create your own Windows Media Encoder profiles? I've updated the site to add a page on tools and resources.
If you need more help, I'm often found in the YouTube Community Help Forum , or you can message me on YouTube .
back to the profile download page.